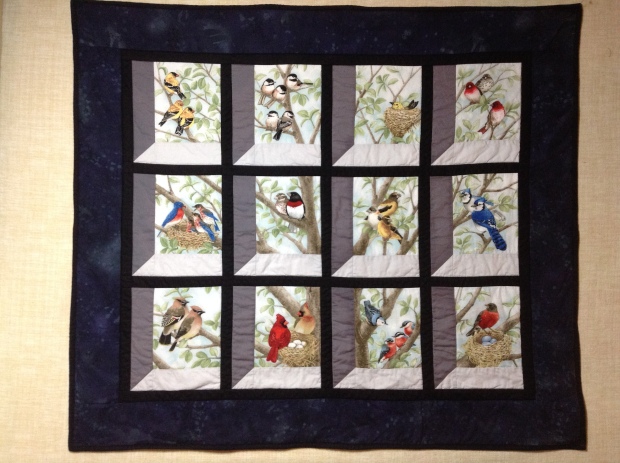
I am heading out tomorrow to see my Mom who has moved to an assisted living facility. I wanted to bring her something to brighten up her new place. I had this Beautiful Birds panel from Elizabeth Studios. I had seen a window quilt created with it so I decided to go ahead and try to make it for my Mom. I watched Jenny Doan’s Attic Window video. I did change some things since my blocks were smaller than hers.
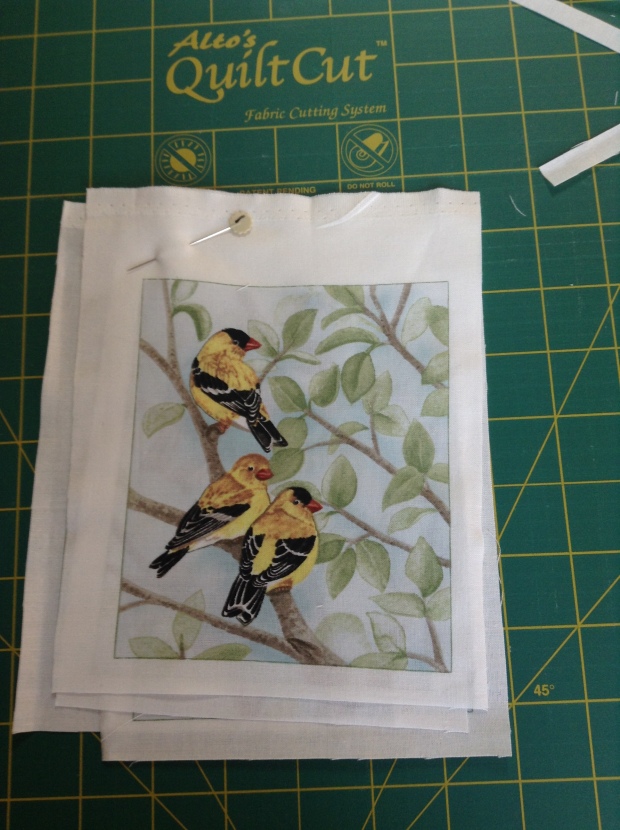
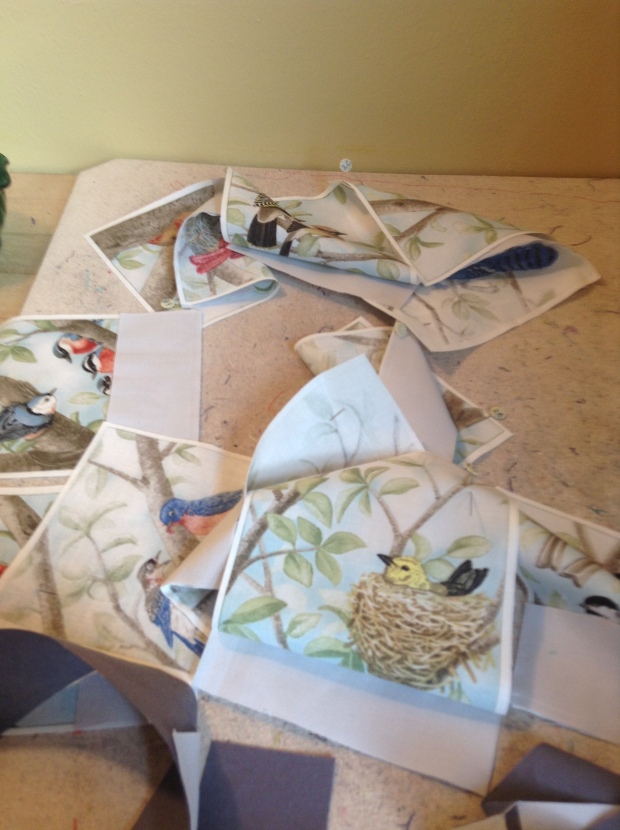
- Rough cut each of the 12 rectangles
- Square the rectangles to 5 by 6 inches.


- Cut 2-2 inch strips width of fabric (WOF) of the light gray and 3-2 inch strips WOF dark gray.
- Subcut the light gray strips into 12-5 inch strips and 12-2 1/4 inch squares.
- Subcut the dark gray strips into 12-7 1/2 inch strips
- Cut 7-1/2 inch strips WOF of black fabric
- Subcut 3 of the black strips into 15-7 1/2 inch strips
- Chain piece the light gray strips to the bottom of each of the rectangles.
- Chain piece the light gray squares to the dark gray strips using the snowball method, sewing diagonally to form the corner of the window.
- Press seams as desired (I pressed to the dark and away from the birds.)
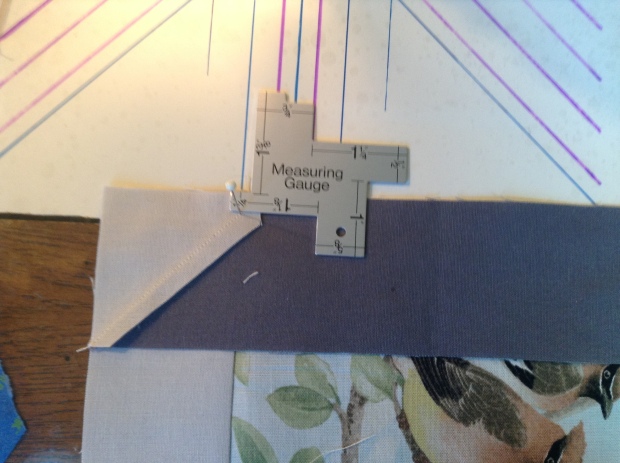
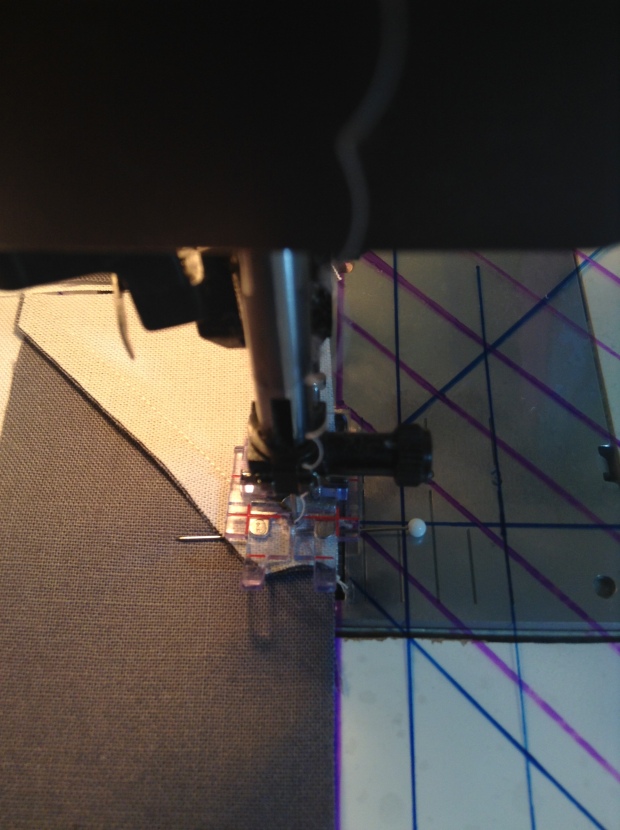
- Sew the snowballed strip to the left side of the rectangles, carefully matching the seam for the gray strip at the bottom of the rectangle. I use a pin and my measuring gauge and I sew very close to the pin before removing it.
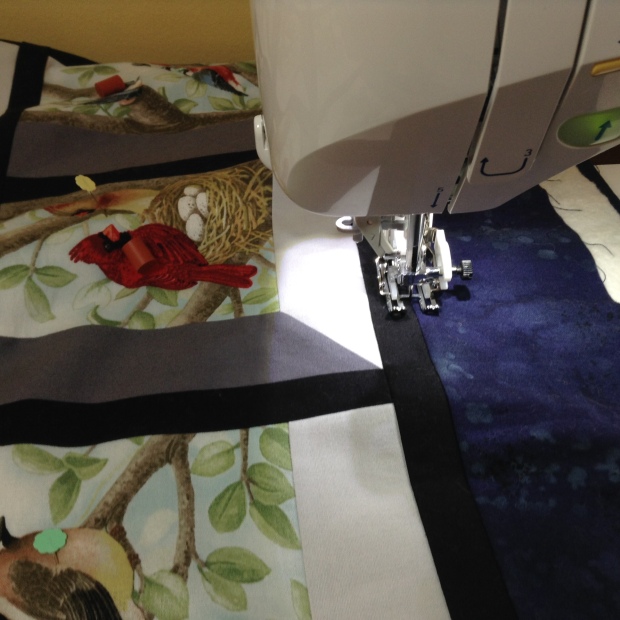
- Sew the black strips to the right side of the rectangles and one strip on the left of each of the first blocks in each of the 3 rows.
- Press seams.
- That completes the 12 blocks.
- Sew the blocks together in rows.
- Sew the long black strips to the top of each of the rows and an additional one on the bottom of the bottom row.
- Sew the rows together.


- Cut 4-3 1/2 inch strips of border fabric (I used Benartex Fossil Fern Indigo).
- Sew on the borders making sure everything is squared up.
- Prepare quilt sandwich with backing fabric and batting.
- Quilt by stitching in the ditch around the black sashing only.
- Square up the quilt top.
- Prepare hanging tabs following instructions at Modify Tradition. (I decided on tabs because I am thinking I might have to hang this with Command Strips and the strips can be attached to a wood strip that is passed through the tabs.)
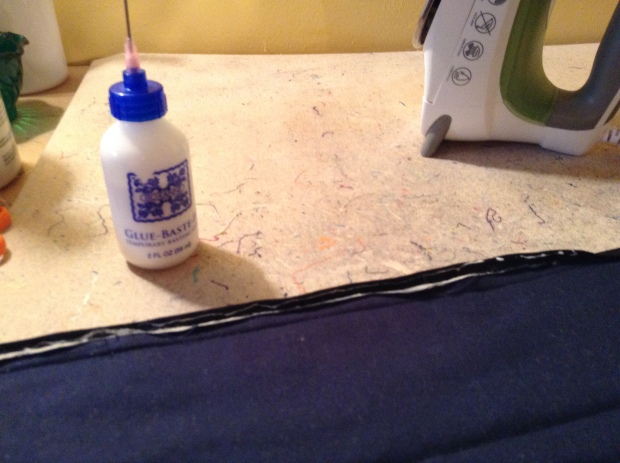
- Attach binding. (I machine stitch it to the front and then glue baste it to the back. Finishing on the machine stitching in the ditch on the front.
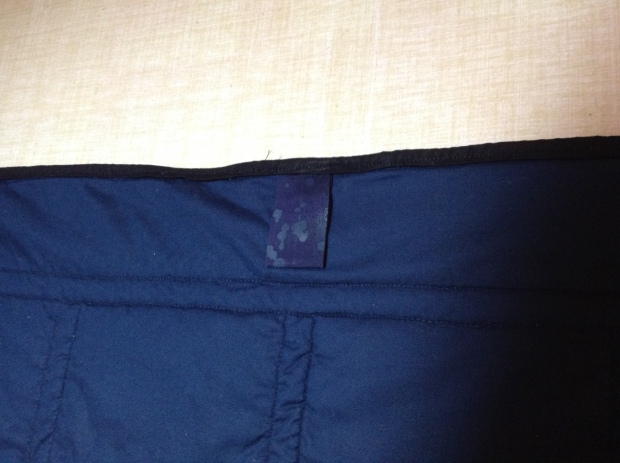
Here’s what the tabs look like finished into the binding.
I love the way it came out. I hope my Mom likes it!
Until next time!

Quilt It Now! is a participant in the Amazon Services LLC Associates Program, an affiliate advertising program designed to provide a means for sites to earn advertising fees by advertising and linking to amazon.com.

It’s so cheery. She’s sure to enjoy looking at it.
LikeLiked by 1 person
very cool. I love it.
LikeLiked by 1 person
Very lovely, Diane! I think it makes a beautiful gift for your mom!
LikeLiked by 1 person